Showing posts with label nature. Show all posts

Saturday, November 19, 2011

Wintering Geraniums

Last month, I brought in over a dozen fairly good sized geraniums to spend the winter in the garage.

Past failed attempts at keeping geraniums alive over previous winters included hanging the roots upside down (a definite failure), wintering the pots in the outside garden shed (they all died within two weeks), and then last year, they spent the winter in the house near a west window (some lived, but did not thrive) and in the garage (they actually lived and and even put on new leaves!).

An inexpensive shelving unit was purchased and assembled by the husband so that more pots could benefit from the sunny east facing garage.  He even cleaned up his work bench to allow room for the shelves.  And he hardly grumbled; that was probably just as sweet of him as assembling the shelves.


The plants are close to an east window in the garage, and seem to be doing fairly well after about six weeks in their winter home.  I've been watering them about every three weeks.


Some lovely  geranium art pictures from Barbara's blog:


Caroline Lord (American artist, 1860-1927) Woman with Geranium

Aristide Maillol (French artist, 1861-1944) Portrait de Lucien 1896


Alfred Stevens (Belgian Painter, 1823-1906) Still Life with Geraniums 1889

Paul Cezanne (French artist, 1839-1906) The Flower Pots 1883-87
Nancy McCarroll, Oil

Saturday, September 24, 2011

Pink Saturday

Beverly hosts Pink Saturday.  If you go here, you can see lots of pinks from bloggers who participate.


Here is my contribution, a double pink hollyhock:


Now that fall is here, the hollyhocks are a little worse for wear.  Those dang leaf hoppers have been getting to the leaves.  Believe it or not, just two days ago I found a leaf hopper and took his picture before he flew off to the cottonwood tree, never to be seen again.  This is his 15 minutes of fame:

Tuesday, August 2, 2011

Monday, August 1, 2011

Drying Herbs & Freezing Pesto

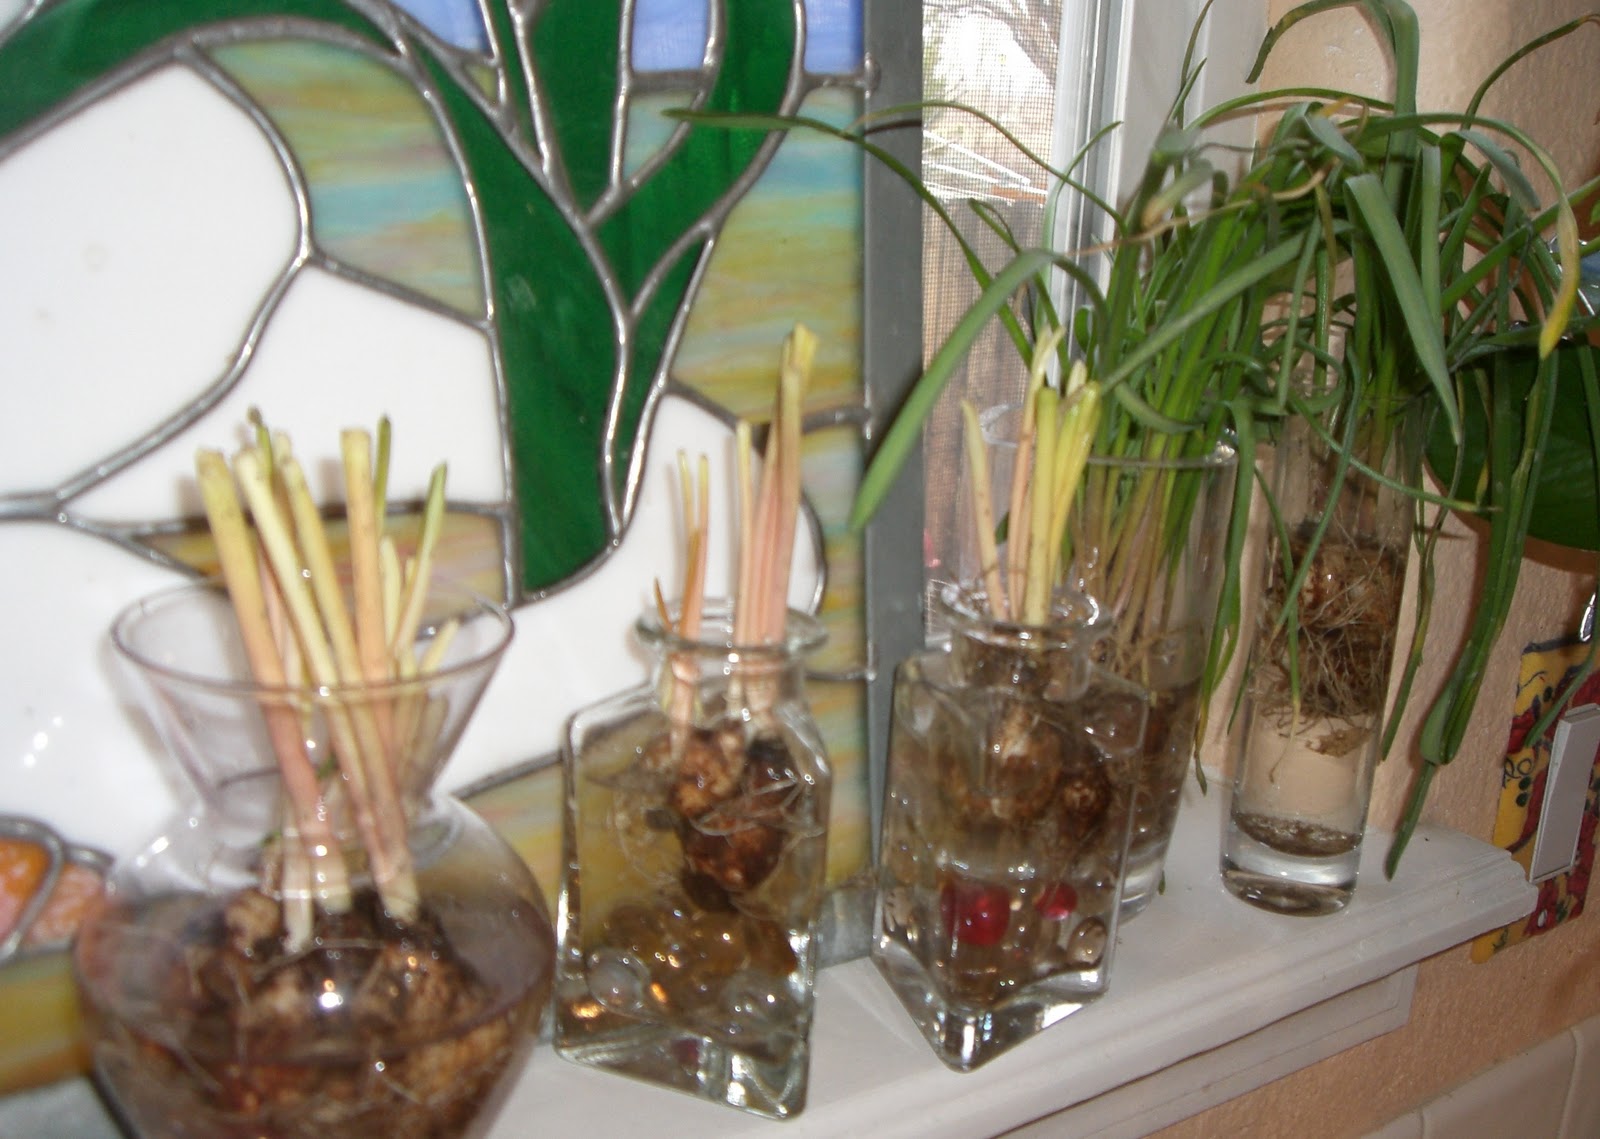
We have herbs.  Do we have herbs.  Abundant herbs!  Never one to waste anything, my husband has been nudging me to dry those aromatic sprigs from heaven.  He even sent me this information from Michael Ruhlman on drying herbs that said, in part:
The herb garden has gone wild from the heat and rain showers. It’s bursting with more herbs than I can handle or possibly use.  It’s like an herb party with too many rowdy guest showing up.  So now is exactly the time to start cutting them back and letting them dry for winter cooking.  This will both begin the supply of dried herbs and also encourage more growth during the next weeks of summer.  Herbs are roughly divided into two categories, “hard” and “soft.”  The soft herbs are herbs with soft stems, such as parsley and tarragon. The soft herbs are best used fresh; they’re fine dried, but they lose their magic, all the beguiling qualities that make them so powerful.
Looking at my "soft" herbs, I seized the day and picked tarragon and parsley to dry, simply washing off the leaves and spreading them on tea towels laid on the counter for drying.  Ruhlman says to spread them out in bowls for drying, so that must work too.


Candied herbs?  Look at Shuna Lydon's post a few years back about how to infuse herbs into sugar.  She has a way with words:
Custards could be infused but they must drape the tongue briefly and evaporate, smooth and silky. Like a well cut skirt: scissors glide through the grain of the fabric, not against it. An aroma is an elusive sensory experience. We embrace those we have known and loved forever and are comforted because they still smell the same as we remember.
And now for the basil and Making Pesto to Freeze:


from Food Network:
Pesto to Freeze

2 cups packed fresh basil leaves
2 cloves garlic
1/4 cup pine nuts
2/3 cup extra-virgin olive oil, divided
Kosher salt and freshly ground black pepper, to taste
1/2 cup freshly grated Pecorino cheese
  • Combine the basil, garlic, and pine nuts in a food processor and pulse until coarsely chopped. Add 1/2 cup of the oil and process until fully incorporated and smooth. Season with salt and pepper.
  • If using immediately, add all the remaining oil and pulse until smooth. Transfer the pesto to a large serving bowl and mix in the cheese.
  • If freezing, transfer to an air-tight container and drizzle remaining oil over the top. Freeze for up to 3 months. Thaw and stir in cheese.
I followed the directions, doubling the amounts:


Several years ago I made this recipe.  It is great for gift giving in mid winter, and it lasts in the freezer much longer than three months; don't hesitate to make several batches for those cold weather doldrums when you want to carbohydrate load.   This pesto recipe is delicious with pasta and chicken.

PS: I decreased the olive oil slightly, and added the pecorino cheese into the processor while blending.  Then remember to sprinkle heavily with more Parmesan or mozzeralla cheese as a finishing entree topper.

Friday, July 29, 2011

Green Gates and The Green Man

In 2008, writing about honeysuckle and hummingbirds this was a picture of our back garden gate that leads to a larger garden area down wooden stairs.  This is what it looked like three years ago:


Unfortunately, we had some very cold winters that killed off the honeysuckle vines.  We took down the archway, cut back the dead branches, and were left with just the gate that looks bare and in desperate need of a face lift.

So I went looking for garden gates that were green in color, hoping to find something I liked and would inspire me to repaint the wooden gate.  Here are some pretty gates that I found while doing an internet search:

 
from pinterest 

(from dreamstime)

Using oil paint from a tube, paint thinner and a linseed oil mixture with instructions here, this is our newly refurbished stained gate:


This is the gate yesterday prior prior to staining:


What a difference a little paint makes!

This is a Green Man, cast in iron, similar to one that I just ordered to attach to the fence:

The Green Man
...is that spirit, energy, presence, inherent in every cell of the vegetative realm, and transmitted to the animal/human realms through the foods we eat, the flowers we smell, the trees we hug. He is Pan.

Monday, March 7, 2011

Forcing Hyacinth Bulbs in Water

From The University of Minnesota  Extension Service, some advice was given here:
Hyacinths, crocus, and narcissus also can be forced in water. Special clear, glass vases are made for hyacinths or crocus. The bulb is placed in the upper portion, water in the lower portion. The vase is then kept in a cool, dark room (preferably under 50 degrees F) for four to eight weeks until the root system has developed and the top elongates. At this point it should be placed in a bright window, where the plant soon will blossom.
On March 4, 2011, I dug up some grape hyacinths from the back yard and put them in small glass jars and placed those vase jars in a box in the garage.  The temperature in the garage averages about 50 degrees F, but is colder at night.  A few more bulbs were placed on the kitchen window sill.  We will do a simple experiment and see what happens in a few days.

...more information about forcing bulbs from The World of Gardens:
Put the bulbs on the vases (one bulb per vase) and refrigerate for 12-14 weeks. During this time make certain that the bulb’s bottom is in contact (barely) with the water. Keep the vases full at all times! During these weeks, the bulbs will develop roots growing into the water. Remember, the bulb must be in contact with water. Just putting a bulb in a bag in the refrigerator doesn’t work (believe me, I tried it once). After the 12-14 weeks (better to error on the long side), remove the vases and place in a sunlit window. Within a few weeks the bulb will sprout and bloom. Crocus blooms are so fun to do this way. Hyacinth smell wonderful.
Update: 3 days later:...

here is a picture of a few of the dozen glass vases on the kitchen window sill, receiving sunlight from the west:


Those vases in the forefront were moved from the garage after 3days without sunlight, and you can see that there is no green growth on the tops.  The hyacinth roots on the left of the picture were in filtered sunlight all weekend, and are looking much healthier.  It is a learning process. 

We'll see if those bulbs actually bloom indoors.

Monday, August 23, 2010

Succulents Indoors on a Shelf

Make you own private garden space indoors: use various succelents as the base of intrigue.

Outside, about a dozen of my succulents will die during the next few months because of weather changes.  What a shame to lose those plants.  So I brought them inside, giving them new pots and a new growing space with light.

eHow says:
Cute Little Plants photo by Kristie Karns of eHow

Succulents are unusual and interesting plants. They come in a wide variety of shapes, sizes and colors and they all store water in their wide leaves. Knowing how to take care of them as house plants is essential to helping them thrive in an inside environment. They are drought resistant plants but in certain climates they cannot be grown outdoors. Try picking out some of the more unusual looking specimens for your succulent collection, as they can be quite the conversation piece.
Alongside my computer space, at eye level when at the keyboard, is an old fiber board bookcase which has held life objects over the past thirty years. I cleaned it out this weekend, and now it contains only items which are used on a frequent basis (knitting books, a scanner, CDs and computer paraphernalia, to name a few).

On one shelf, attached to be underside of the shelf above, is a 22" inexpensive fluroescent light that gives illumination needed for the little plants to grow and give off oxygen.

If Kiki could be here to take photographs, she would show the true essence of the succulents.  Go over to her blog and look at objects she has captured with amazing charm and spirit.

Here are a few pictures of my new indoor succulent garden taken from plants that were growing outdoors until yesterday:


the oriental "mud man" was purchased at a local garden center

Wednesday, August 11, 2010

Dallas Arboretum in Pictures

It was a privilege to see the Dallas Arboretum, all 66 glorious acres, and to have an escorted personal tour by two informed docents at the park now owned by the city of Dallas, Texas.

Frommer's says:
Dallas may not be celebrated for its cool green beauty, but the area around White Rock Lake, and more specifically the Arboretum and Botanical Garden, is a welcome oasis. Just 15 minutes from the gleaming skyscrapers of downtown Dallas are nearly 70 acres of carefully planted and groomed gardens and natural woodlands, interspersed with a handful of historic residences, that meander along the banks of the lake. The Jonsson Color Garden features one of the nation's largest collections of azaleas, which bloom spectacularly in spring, and nearly 6 acres of chrysanthemums in the fall. And while North Texas is not exactly New England, October and November are as ablaze in color as anything you'll see in this neck of the woods. If you find yourself in Dallas during the torrid summer (or spring and fall) months, the Palmer Fern Deli is a secluded, shady spot where mist-sprayers drop the temperature at least 10° to 15° -- reason enough for a visit here...
One of the more intriguing vignettes consisted of gardening architectural features replicating Beatrix Potter's cottages where her beautifully illustrated imaginary friends live (in the large Children's Garden).

Gigantic Peter Rabbit consisted of ferns and grasses, and even a living rendition of a carrot:

This is Mr. McGregor's potting shed.

Anne Hathaway's Cottage

These two adorable sisters in their pink tutus were the absolute sweetest thing I found in the garden. Their mom and nanny were taking them on an outing for a phototgrapic shoot, and allowed me to take their picture.

More pictures later....it was an incredibly hot and humid morning, but glad the opportunity presented to see the Arboretum.

Sunday, July 25, 2010

Toad House

An easy way to make toad and frog houses for your hopping critters can be accessed here.

With that process in mind, a bit of looking around on the internet came up with some classy accommodations for toads that can be purchased here (picture also courtesy of that site):


DIY showed the handmade toad house below.  That required a clay pot, glue and pebbles.
Our backyard toad is a big fellow, so he needed a fairly large opening for an entrance.  Using a galvanized steel vase turned on its side and half filled with dirt, here is what I came up with:

It took several days for Mr. Toad to find his new home, but hopefully we can keep this renter through the rest of the summer.


Amazing how his toady skin is camouflaged in the dirt!