Because I cannot sleep well at night due to taking steroids for metastatic breast cancer, I have been painting rocks during the dark hours. This activity can be accomplished while reclining, so between knitting, reading and painting rocks, I keep occupied during the dark hours. It keeps me occupied and the attention to detail seems to help my mind slow down a bit.
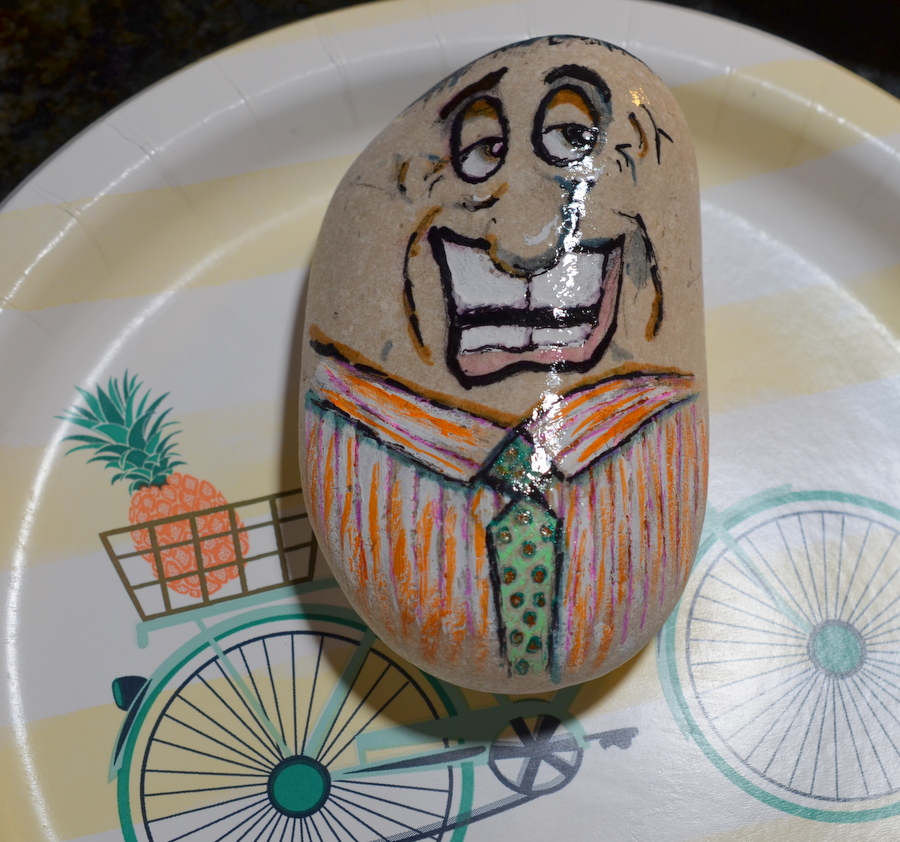
Here are a few rocks I photographed today that I have painted over the past weeks for the Latimer House Fundraiser (termed Extraordiinary Women,) with proceeds going toward domestic violence services provided by Hilltop Community Resources in Mesa County, Colorado.
These are small rocks, painted with acrylics and art pens similar to Sharpies, and averaging about four square inches. There are two dozen more I might touch up and spray with clear polyurethane before handing them over for sale.
Last summer was the advent of painting our fences with happy flowers. Yesterday and today, I decided to update the east fence with a big ol' sunflower. All acrylic, all half way peeling, and all flowers in need of a bit of fresh lacquer; or in this case, acrylics.
This is how it looks from the patio, not nearly so "in your face."
Except there might need to be a bee on the head of that sunflower. We shall see how it feels later today.
A year ago in April and the west fence, which also needs a refreshment of paint:
Looking through Pinterest and images on Wooden Fence Decorating provided imaginative mental fodder for painting flowers on our wooden fence. It is rough cedar and does not provide a smooth painting surface. But it needed a bit of refreshing, to say the least.
A "Before Makeup" picture of our woebegone fence corner:
I would show a couple of neat ideas and pictures that others on various sites have shown that were pretty darn cute, but what with people now suing for damages by using others' photos, I'm leery to do so. (See this story by Roni Loren about her lawsuit resulting in her having to pay thousands of dollars by using a Google image. She talks also about "Fair Use" and copyright validation, and is well worth the read.)
So now I am not using pictures found on the internet, but will provide links in the future.
Back to the fence.
Acrylic paints in tube form and two cans of acrylic green spray paint were used. The husband snapped this photo of me working on some leaves.
Here is our NEW fence face.
This is on Pinterest at this link. You can see ideas of exterior art by typing in the search words "OUTDOOR ART" or "FENCE ART" on Pinterest and catch many pieces of outside decoration.
Church calendars say that we are now in "Ordinary Times", that is, beginning with the first Sunday after Pentecost and going through the last Sunday before Advent.
Creating some art work for the church for the fall season in Ordinary Times led to begin painting a triptych in acrylics.
Each canvas is 2 feet wide by 3 feet in height. The canvases will be spread out with twelve inches between each, creating a larger object for the church sanctuary. Upon completion, the mathematical calculations end up with the triptych being 8 feet wide by 3 feet high.
The husband first made this large easel so that all three canvases could be worked on simultaneously. He spent a couple of hours making it, and so far, it is doing the job of holding the canvas frames. Just have to be careful of the wind coming up as it is on the outside covered patio. So far, I've been hit in the foot by one falling canvas. A small bruise was the result of the canvas escaping from the easel. What one won't do for art, right?
These pictures gathered from Pinterest and the internet gave pause for thought and inspiration.
(Most of the saved images are on my iPad, so I just took pictures of the pictures through the film screen saver, but you get the idea.)
Here are the canvases in process:
The picture above shows the bottom of the middle and the end canvases. Both need shadowing and more details. A light at the end of where the trees meet up will be painted in, along with a person and perhaps a dog at the end of the path. I have an idea of what this triptych will represent to me, but I would be very interested in what you might think about when viewing these canvases.
For even more inspiration, you might like to listen to this magnificent rendition of an old hymn.
Michaels has a good tutorial on painting flowerpots.
If you go to that site, the instructions seem somewhat complicated. And they do not state that it is desirable to apply a gesso product on the clay pot prior to painting on the pot. It is advisable to paint on the clear product so that the paint won't soak into the clay.
At your local home improvement center, you can find a clay product sealer which will allow your acrylics or oils to lay on smoother. Otherwise, without a sealer, the clay soaks up the colors and more layers of paint are required in order to get the desired coloring effect.
This site gives excellent step-by-step instructions for preparation of the pot prior to painting. That same reference will further explain the importance of preparing the clay surface for paint.
The picture on the right upper corner is one from the Michaels website. Near right photo shows a flower pot which I painted two years ago (using a clay sealer undercoating), which has held up fairly well. I used oil paints on this flower pot, but acrylics also might be applied for a quicker drying time. (The painting on the flower pot to the right was taken from an original Linda Le Kniff drawing.)
If you were to paint on the newer heavy duty plastic pots, prep time would be quickly shortened.
Remember to spray a clear acrylic coating on the finished pot for a bright, clear finish.
The decorative arts are traditionally defined as ornamental and functional works in ceramic, wood, glass, metal, or textile. The field includes ceramics, furniture, furnishings, interior design, and architecture. The decorative arts are often categorized in opposition to the "fine arts", namely, painting, drawing, photography, and large-scale sculpture. Some distinguish between decorative and fine art based on functionality, intended purpose, importance, status as a unique creation, or single-artist production. Decorative arts, or furnishings, may be fixed (for example, wallpaper), or moveable (for example, lamps).
I first started in the decorative arts in the mid 1970's and was pleased with the camaraderie found in my tole painting classes, as well as being able to provide gifts that were hand made. Then, I painted mainly on wood.
This week Doe Clore, a teacher of beginner and intermediate decorative painting classes, taught her friends and pupils in Fruita. I was fortunate enough to sit in on this class, and produced this tray using techniques that Doe taught. Using acrylics, it took only a few hours to paint flowers and a flag on this wooden tray.
After the paints dried (very quickly, within an hour), I sprayed several coats of an acrylic sealer on the tray.
It should be fun to use, especially on the 4th of July.
During our friendly art class/workshop a few weeks ago, a decorative artist brought in a black canvas tote bag on which she had painted a patriotic picture. She used regular acrylic paints (the ones you find in craft stores in a plethora of colors, each costing from $.69 to a bit over a dollar). Since I had never used my acrylics for anything other than stenciling, I thought I would give it a shot.
I used a Mary Englebreit picture from a purchased note card, and a Maxine cartoon found on the internet. Both images are fun and indicative of my taste in whimsy, so I decided to paint replicas of these images on an old cream colored tote bag. That tote bag was purchased for a previous project that I never got around to completing, so it offered the perfect surface for painting with those little bottles of acrylics.
The surface of the canvas was fortified by attaching it to a clip board. That way, it was easy to put the secured tote in my lap and paint while I watched television with my husband. After a weekend, I came up with this bag painted on each side. It was fun to do, and shading with the fast drying acrylics was not nearly as difficult as I had imagined. Give it a try with you favorite picture, or be even more original and let your creativity take you to a place you would like to be.


.JPG)


